Overview
Step-by-step clinical application guide for practitioners
Safety
Contraindications
- Active skin infections in treatment area
- Compromised skin barrier
- Pregnancy or breastfeeding
- Isotretinoin use within the last 6 months
- Topical tretinoin use within 72 hours
- Open wounds or broken skin in treatment area
- History of keloid or hypertrophic scarring
- Known allergy to salicylic acid or lactic acid
- Recent laser or IPL treatment within 2 weeks
Neutralize Immediately If
- Severe burning or pain (escalating)
- Excessive redness or swelling
- Hives or welts (urticaria)
- Blistering
- Patient inability to tolerate
Stop the procedure and neutralize with cold water or sodium bicarbonate.
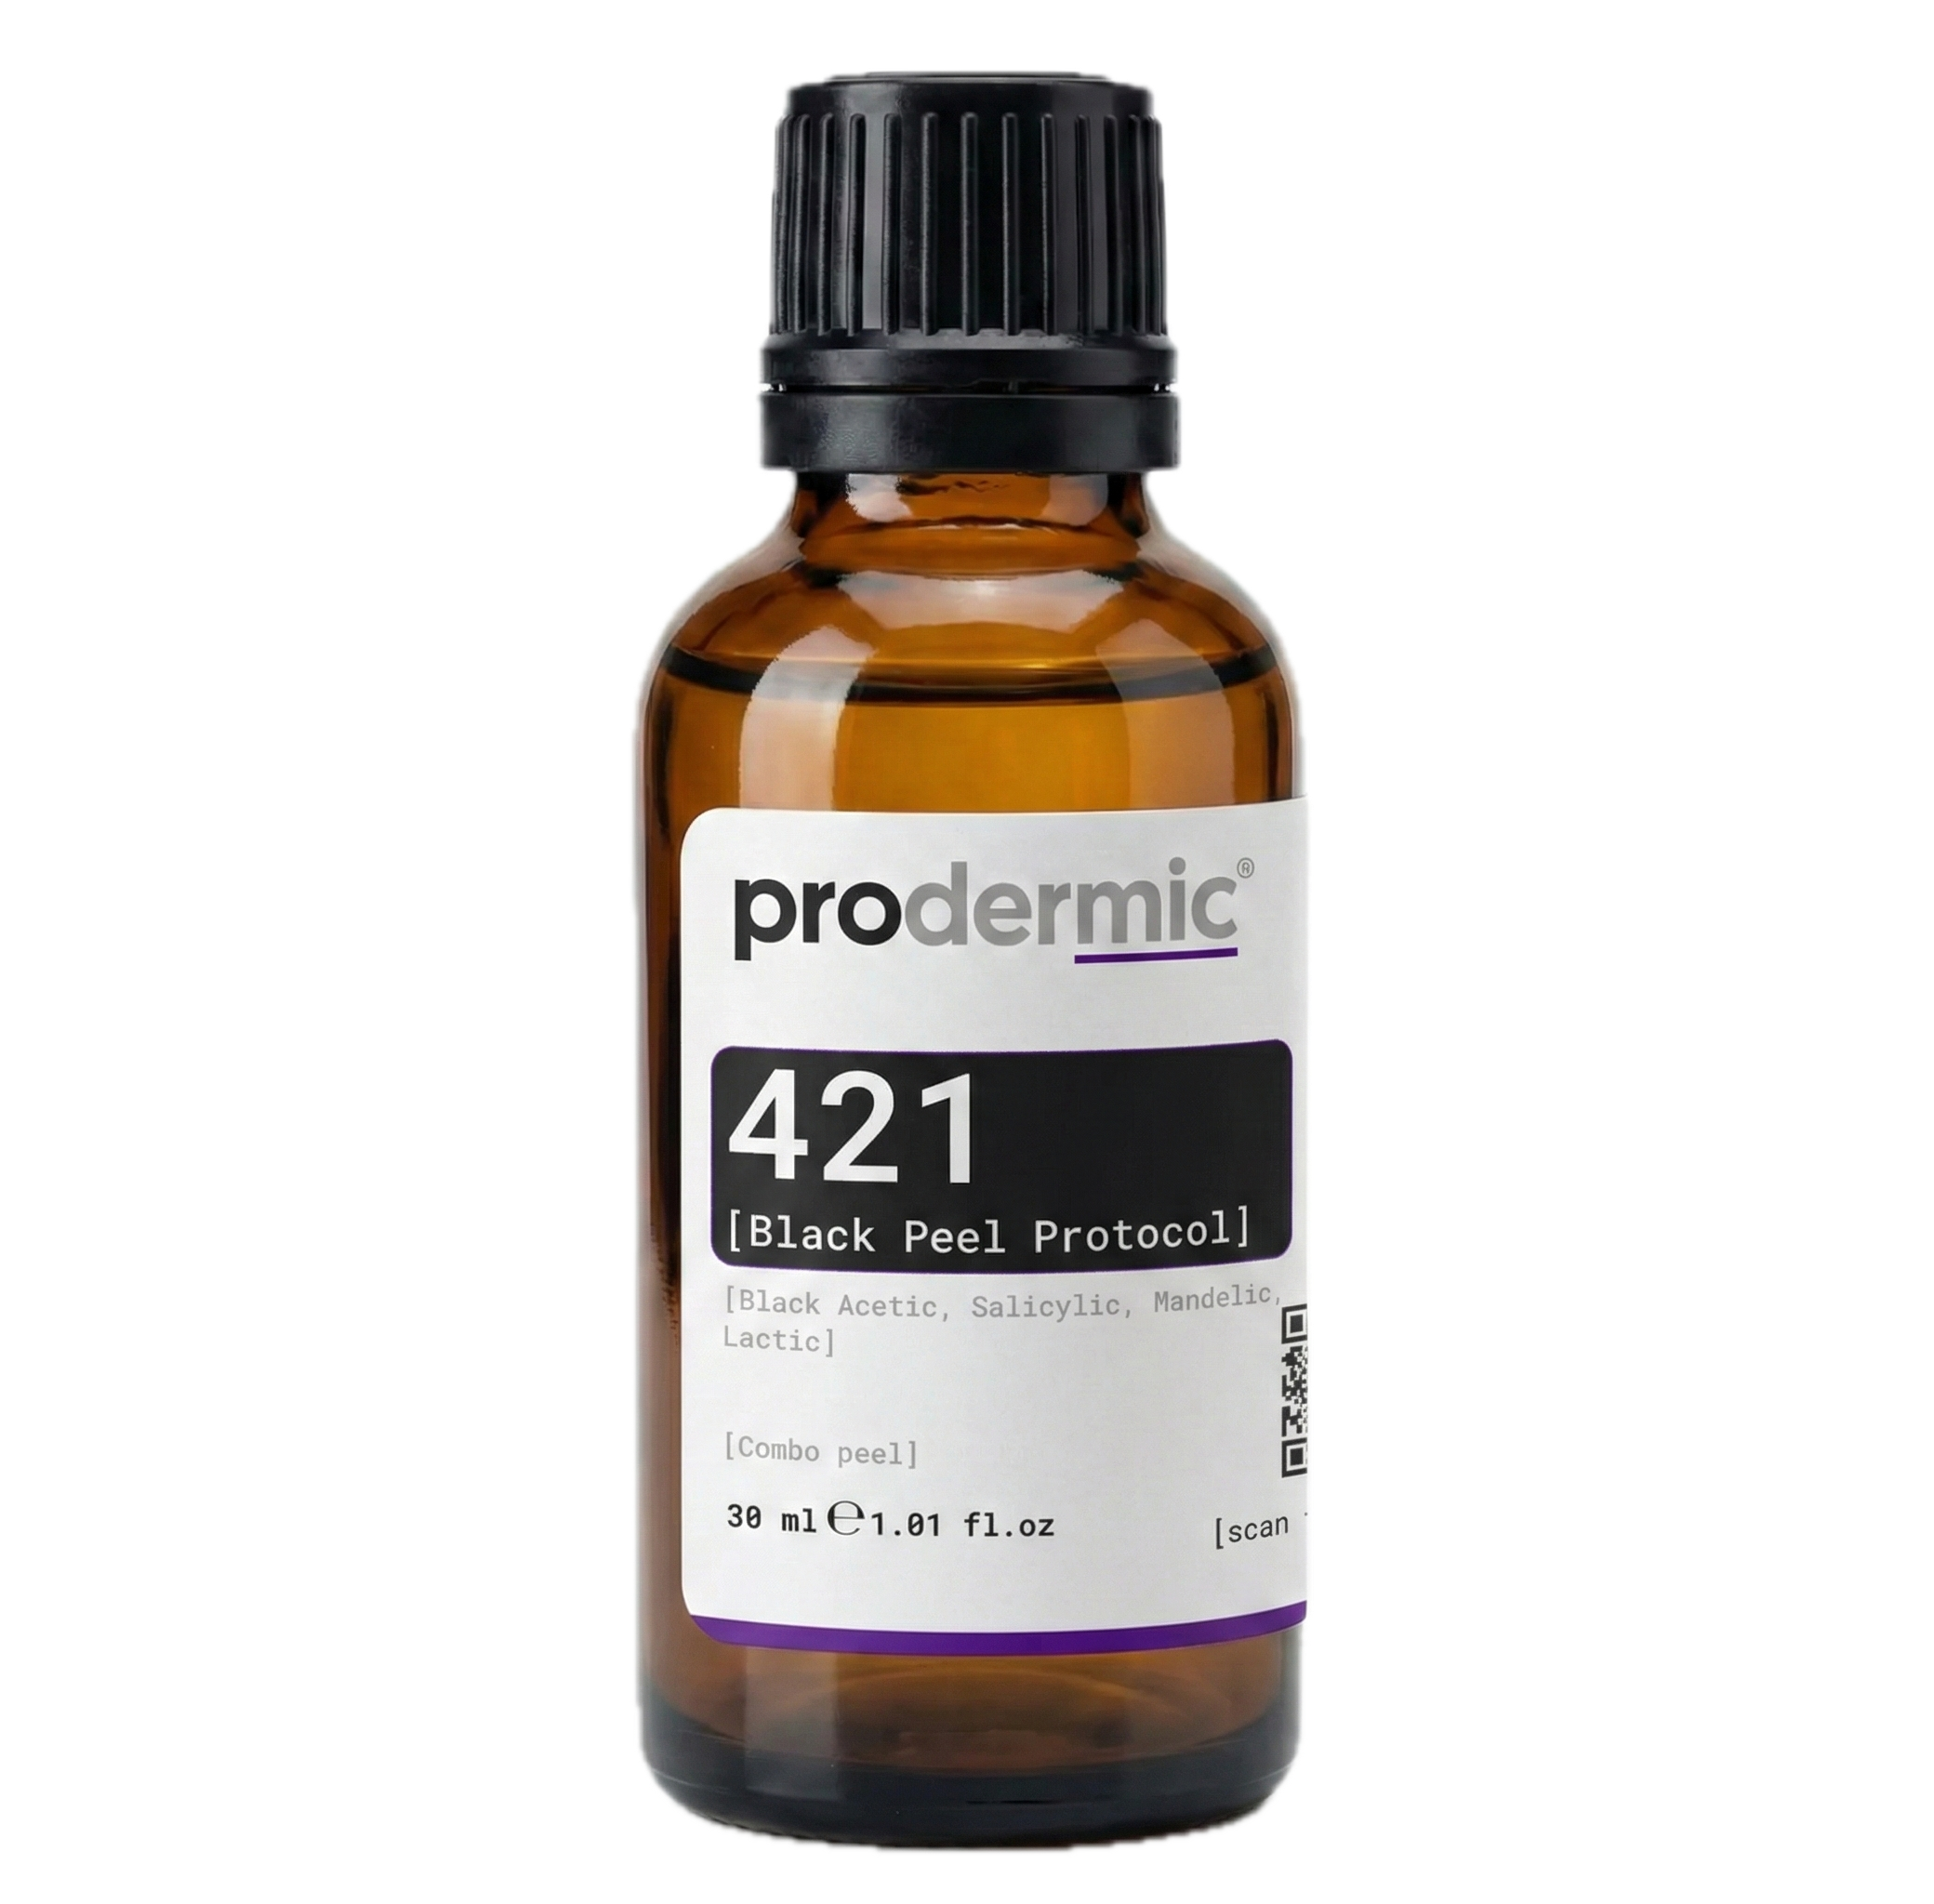
Composition
| Ingredient | Concentration | Role |
|---|---|---|
| Black Acetic Acid | Deep detoxification, antimicrobial action, purifies congested pores | |
| Salicylic Acid | Lipophilic pore penetration, comedolytic activity, dissolves sebum plugs | |
| Mandelic Acid | Antibacterial properties, gradual and even penetration due to large molecular size | |
| Lactic Acid | Hydrating exfoliation, supports ceramide synthesis, gentle surface renewal |
Indications
- Detoxification
- Congested Skin
- Anti-Aging
- Dull Complexion
Procedure
- 01
Cleanse & Degrease
2–3 minCleanse with gentle non-residue cleanser. Remove makeup, sunscreen, surface impurities. Degrease skin using pre-peel degreasing solution with gauze.
- Degreasing contact: 1–2 minutes. Wipe clean. Allow skin to dry for 30 seconds.
- 02
Patch Test
10 minApply a small amount behind the ear or on the inner forearm. Observe for 10 minutes for any adverse reaction.
- First session only. If erythema, itching, or swelling occurs, do not proceed.
- 03
Apply prodermic 421
3–5 minApply 1–1.5ml of product using a fan brush or gauze. The product has a distinctive black colour. Apply in thin, even layers across treatment area.
- Distinctive black colour makes coverage easy to assess visually.
- 04
Observe & Titrate
10–30 minMonitor skin response continuously for 10–30 minutes. Watch for uniform mild erythema beneath the black layer. Slight tingling is normal.
- Session 1: target 10 min. Increase progressively in subsequent sessions.
- 05
Neutralize & Remove In-Clinic
3–5 minThis peel is NOT self-neutralizing. Neutralize with sodium bicarbonate solution or cold water. Remove all product thoroughly with damp gauze.
- IMPORTANT: Product must be fully neutralized and removed in-clinic. Patient must NOT leave with product on skin.
- 06
Post-Peel Soothing & Discharge
3–5 minApply recovery moisturizer and SPF 50+ sunscreen. Provide written post-care instructions. Schedule follow-up.
- Patient should avoid sun exposure, actives, and makeup for remainder of day.
Post-procedure
| Day 0 | Peel Day Peel neutralized in-clinic. Recovery moisturizer applied. No actives/makeup rest of day. |
| Days 1–2 | Tightness Phase Skin tight, dry, possibly darkened. Gentle cleanser 2x daily. Thick moisturizer 3–4x. SPF 50+. |
| Days 3–5 | Peeling Phase Visible flaking begins, more intense around T-zone. Do NOT force peeling. Continue moisturizer + SPF 50+. |
| Days 5–7 | Recovery Peeling mostly complete. Resume light makeup. Avoid harsh actives until Day 7. |
| Days 7–14 | Between Sessions Strict sun protection. Resume normal skincare. Next session in 14 days. |
Session plan
| Session | Contact time |
|---|---|
| Session 1 | 10 min |
| Session 2 | 10–15 min |
| Session 3 | 15–20 min |
| Session 4+ | 20–30 min (max) |
Expected results
Clinical outcomes from supervised sessions. Actual results depend on skin type, adherence to protocol, and sun protection.